Tools for Halftones
1. The Gradient Tool.
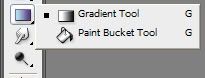
This is where a lot of halftones begin. Make sure the options are set up so that any gradient you make fades transparently, if you're working on a t-shirt design and need each layer to have a separate color.
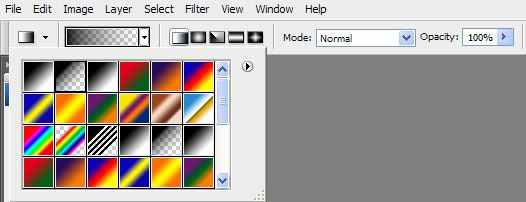
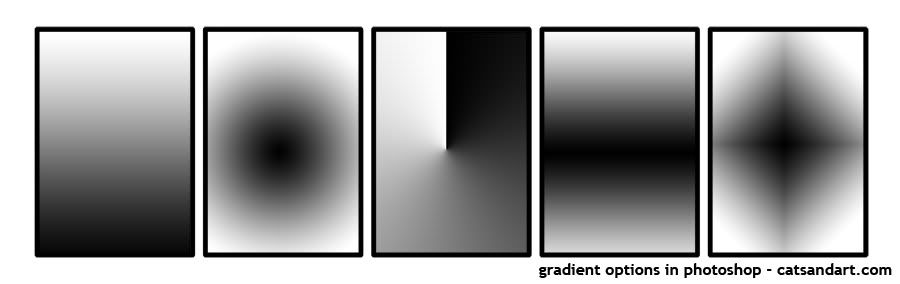
Photoshop has five different gradient shapes:
2. Photoshop Brushes
There are two standard brushes I use to create halftones, with a little editing in the brush options. The first one can be used with a mouse, and the second one is more tablet-centric:
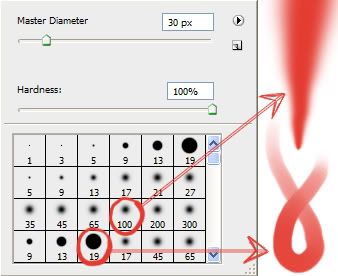
The first brush, size 100, is useful for shading in larger areas that don't necessarily work with a standard gradient. If you're using a tablet though, it might get too pointy at times. What I did was change the minimum diameter of the brush. Other times it might be too dark - but you can change that as well by selecting other dynamics in the brush editor.
To open up the brush editor, go to Window > Brushes.
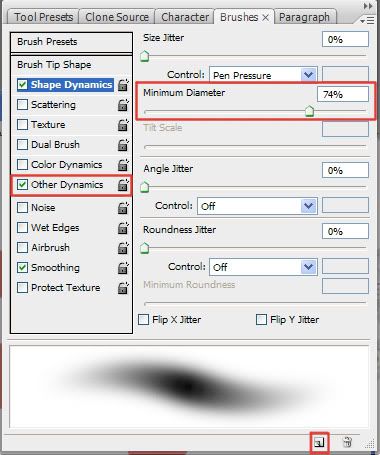
The second brush already changes opacity with pressure. If I need to shade with a little more detail, I lower the minimum diameter on that brush.
To save any changes you make to a brush, click the icon in the lower right hand side of the brush editor (highlighted in the screenshot above).
3. Selection Tools
This includes the Lasso Tool, Magic Wand, and everything underneath the "Select" portion of the menu. It is useful when creating custom halftones, because it can:
a) Limit the area you color in, especially when using big, fuzzy brushes - less clean-up time later.
b) Save previous selections you've made, so you don't have to redo them again and again.
c) Modify the selected area automatically.
The ones I use a lot in particular are:
Magic Wand - Sometimes I draw out a shape with a brush - such as a cloud, for instance - and instead of tracing over it with the lasso tool to color inside, I select it using the magic wand. Of course, this still leaves some of the background visible in between the color and the line, so I use the next tool in the list to fix that.
Select > Modify > Contract, Expand, and Feather. - Each of these has their uses when using an automatic way of making a selection.
- When I want to color inside of a whole design with a lot of details, I select the area around it. Then I go to Select > Inverse, which inverts the selection so that I can draw inside of the design. But, there is still a visible area outside of the line because of the way things are selected. So I go to Select > Modify > Contract, and choose the number of pixels based on how thick the lines are.
- On the flip side, when selecting a space from the inside, I use Select > Modify > Expand.
- Feather can help you create a gradient customized for a certian shape.
Select > Save Selection, Load Selection - Allows you to save selections you've made, which is really useful if you spent a lot of time selecting or tracing various parts of a design. If you end up having to re-do a section, just go to Select > Load Selection to bring it up.
-----
Confused? Part 3 is going to be a walkthrough on creating an actual design with halftones - all pictures and text in a jpeg so you can open it in Photoshop and read as you go along.


No comments:
Post a Comment